Shady Shipping
Wiki / How to play / Arrests & the drop-in
The round
Arrests and the drop-in
Arrests and drop-in built; strike cutscenes in progress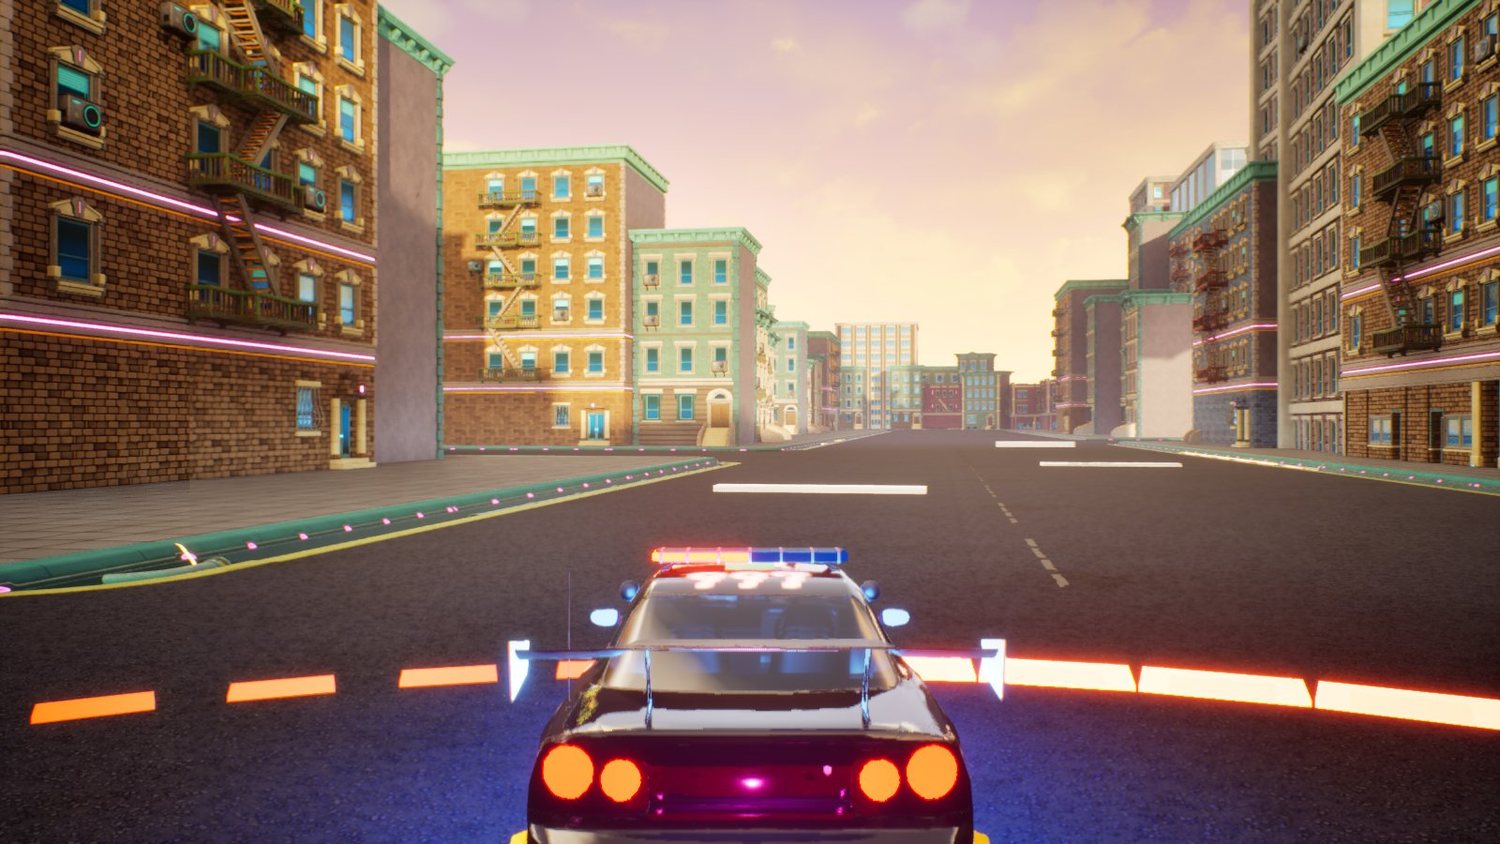
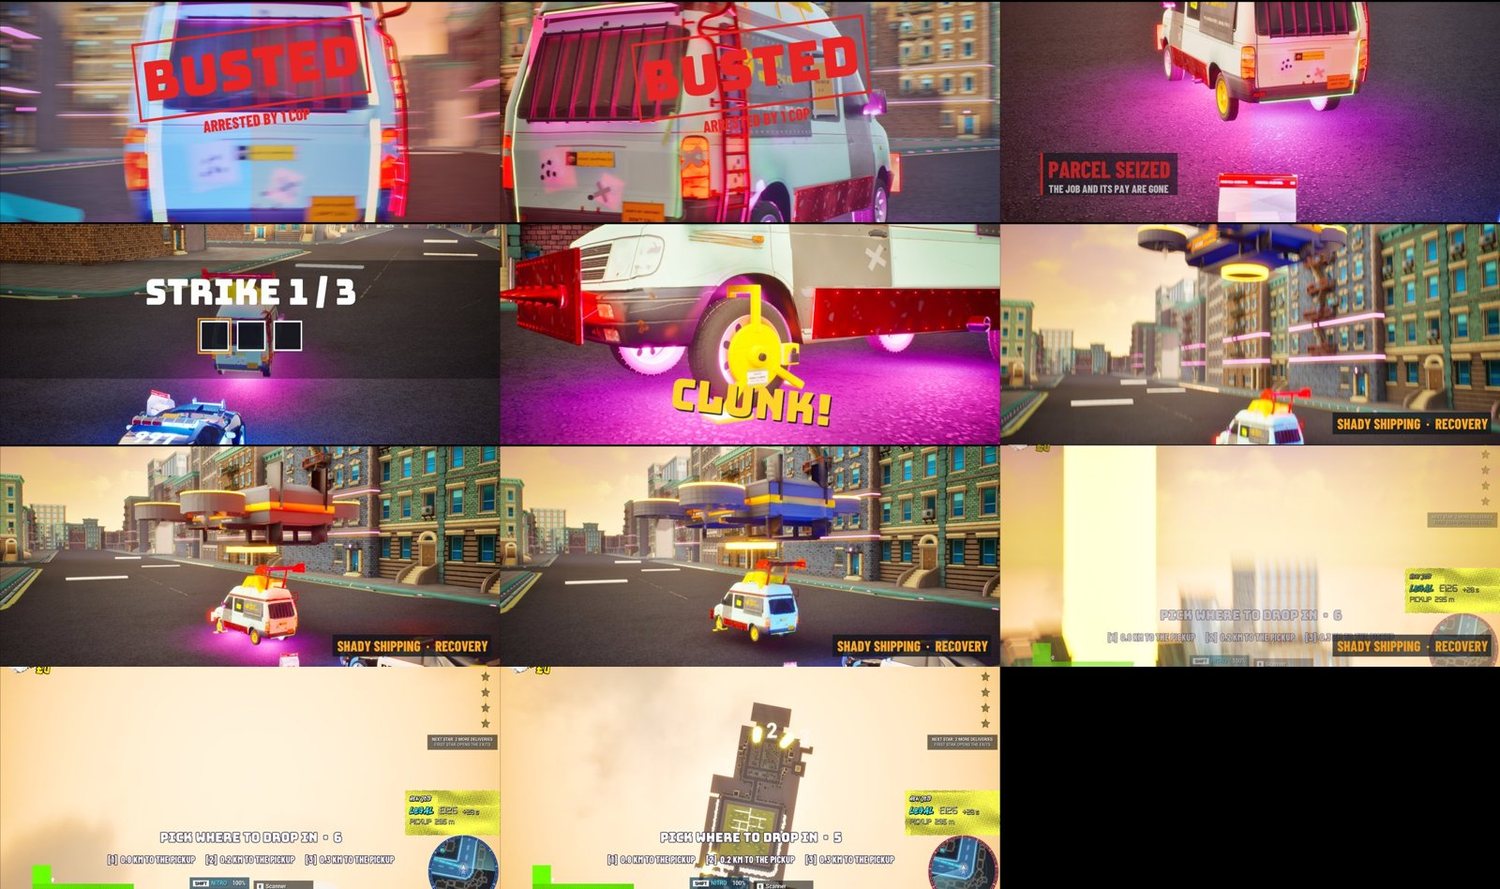
What it does for play. A van that stops can be arrested. That gives the police a second way to score besides wrecking it, and it makes every loading bay a risk. After any strike, a cutscene shows what happened, and the van drops back into the city somewhere new.
How an arrest works
| Step | What happens |
|---|---|
| Exposed | Whenever the van is nearly stopped, or loading at a bay, an amber ring shows on the road round it. The van's screen reads EXPOSED: YOU CAN BE ARRESTED. |
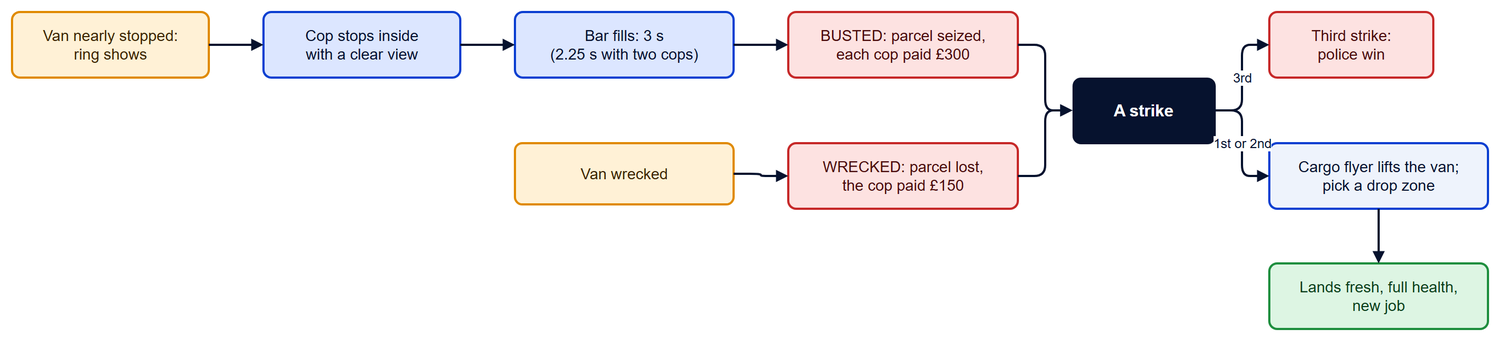
| Arresting | A cop who stops inside the ring with a clear view of the van starts the arrest. The ring turns red and fills like a clock. |
| Teamwork | A second cop in the ring makes it faster. |
| Escaping | Speeding up drains the bar. Between the two speed limits it only pauses, so a van being rammed does not flicker in and out. |
| No cheating | No arrests through walls, and never on a hidden or cloaked van. |
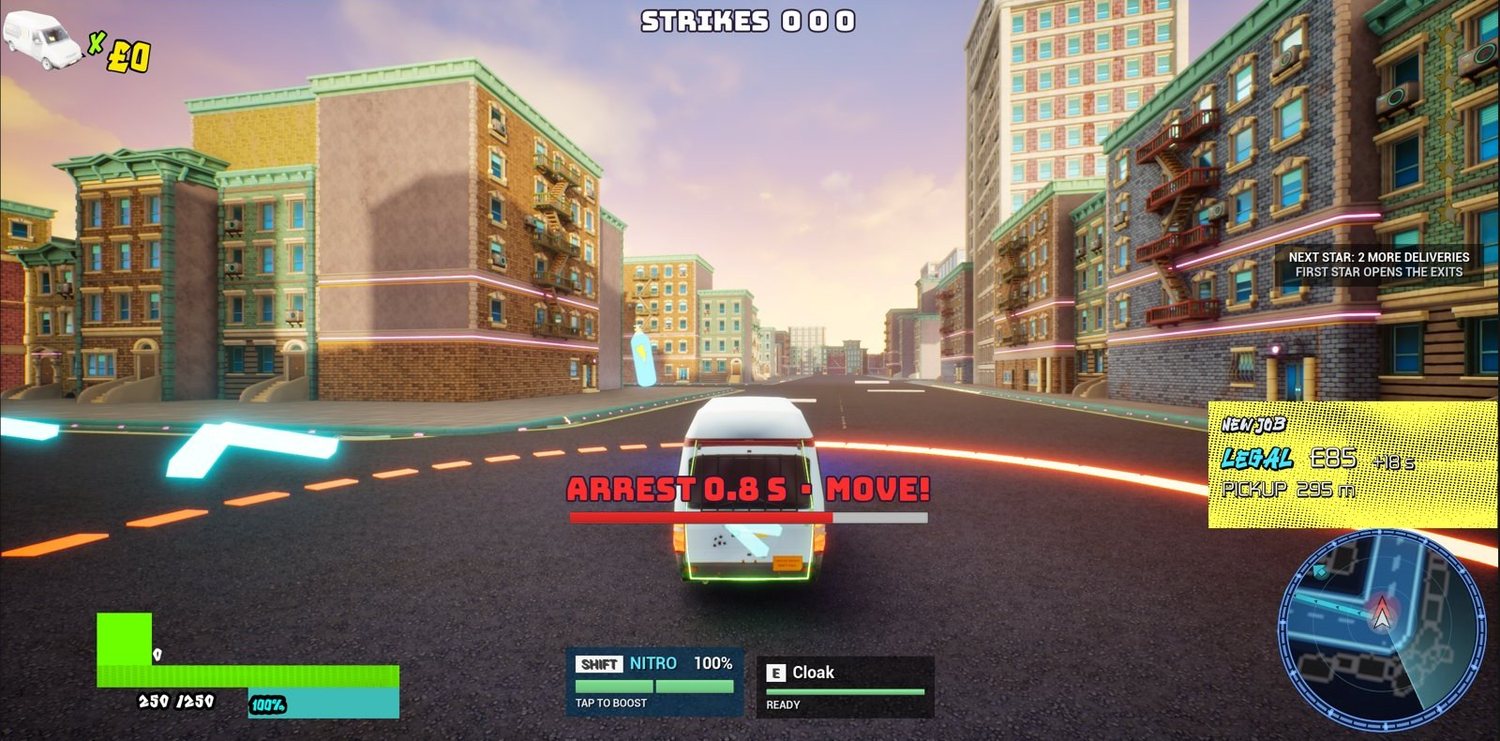
| Arrested | The parcel is seized, each cop in on it is paid, and the van takes a strike. |
The numbers
| Value | Setting |
|---|---|
| Ring size | 10 m |
| Van can be arrested below | 8 km/h |
| Van is safe again above | 15 km/h |
| A cop must be slower than | 15 km/h |
| Arrest time: one cop / two or more | 3 s / 2.25 s |
| Bar drains in | 1.5 s |
| Pay to each arresting cop | £300 (a wreck pays the cop £150) |
Loading at a bay takes longer than an arrest, so at a bay the police have to box the van in, not just pull up beside it. Abdullah kept the arrest at 3 seconds for exactly that reason.
The strike cutscenes
Every strike plays a short cutscene, timed from the tuning sheet, before the van is lifted out.
| BUSTED (arrest) | WRECKED | |
|---|---|---|
| Length | 7 s | 6 s |
| What the van sees | A stamp slams down; the parcel pops into an evidence bag (PARCEL SEIZED); STRIKE 1 / 3; a police clamp drops onto a front wheel | A white flash; PARCEL LOST; the strike count |
| The lift | A Shady Shipping cargo flyer comes down, magnets the van and lifts it away | The same, with the van still smoking |
| What the cops see | They keep driving and watch it in a corner LIVE ARREST CAM feed | The same, as a WRECK CAM feed |
The drop-in
| Step | What happens |
|---|---|
| Choose | The courier sees the city from above with three numbered drop zones, each away from the cops, the exits and the new pickup, with its distance to the pickup. |
| Pick | Press 1, 2 or 3. After 6 seconds the safest is picked. |
| Warning | The police see VAN LANDING and a ping on their radar 2 seconds before it lands. |
| Land | The van lands fresh, at full health, with a new job. |